
I wanted to make some too!
Specifically...pincushions.
After all, it was 10:15pm. I needed something fast, easy and satisfying.
So I googled pincushion tutorials and clicked on pics that I liked.
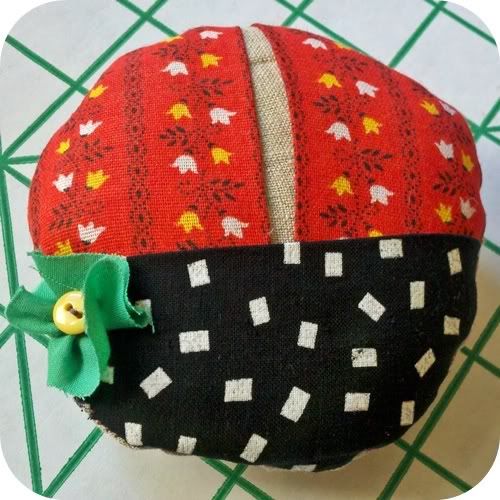
And ended up making my own version of the Bitty Bug Pincushion by Goody-Goody Handmade.
And go figure... I took pictures while I did it. Keep reading for my tutorial-ish, and click here for the real tutorial.
Start..
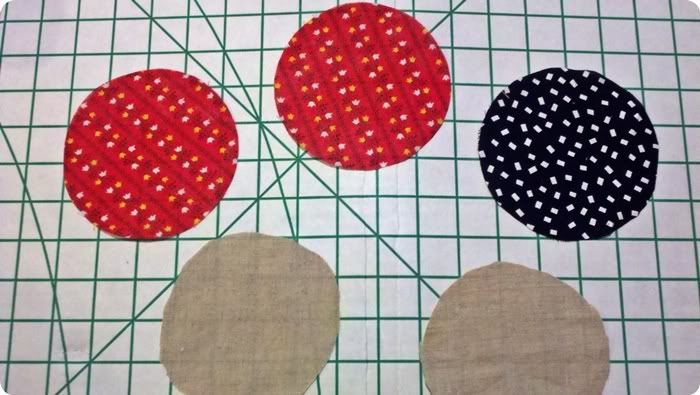
The tute said..cut some circles. But I have stacks of already cut circles in my Miss Fancy Plants hoard. And luckily..in the right colors. Oh yah!
So I whipped some of those out.
You need circles like these- ish --->
Dos..
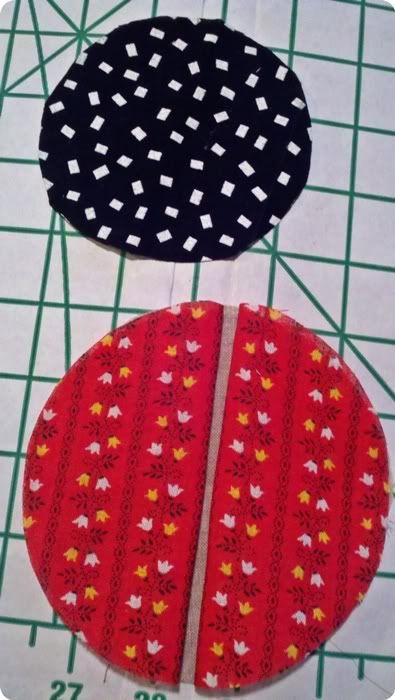
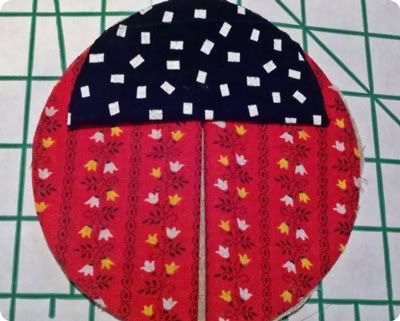
Then you place them like so..
folding the reds in half and then the black one too.
However... had I really followed the original tutorial, I'd have known the black needed to be a smidget smaller than the others..so I had to do some trimming. Hey... we've already established that I am no perfectionist. =/
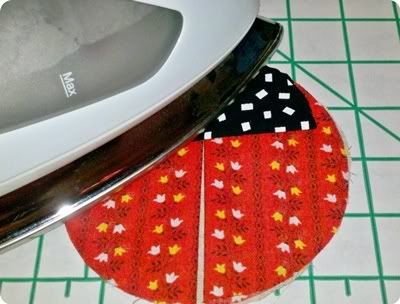
Next..
Then you press!
I can't believe I actually did this step!
I never do the ironing step.
Vier..
(that's 4 in german)
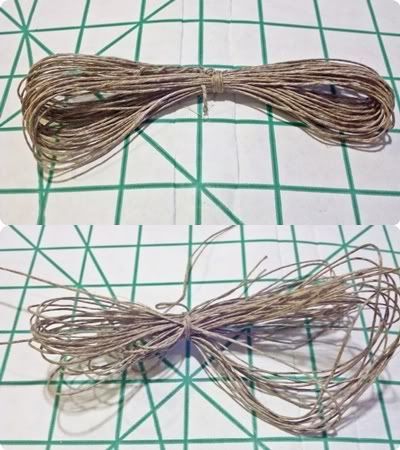
Now I was supposed to make some antenna.
So I ran upstairs to find the little tiny bundle of twiney stuff that I knew was in the black hole some where..
Found it..
and then I couldn't get it undone!!!
Stooopid.
But then I did.
And I made some antenna.
Then..
I had to place the antenna on the beetle head and put the last circle down, making a bug sammich.
Goody-Goody suggests tacking down the antenna before sewing to make sure they stay. So I did.
In case you're wondering why the little stringies are hanging outside the sammich... like I was... well, it's just the extra. That will end up inside the bug.
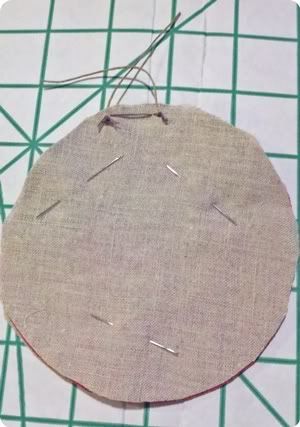
And then you pin the sammich up and start sewing...
I didn't feel like bringing out my machine, or running back to the black hole to find my pinning-stuff pins, so I used sewing needles to pin it and hand-stitched the sucker. Kept me busy the entire episode of Top Gear.
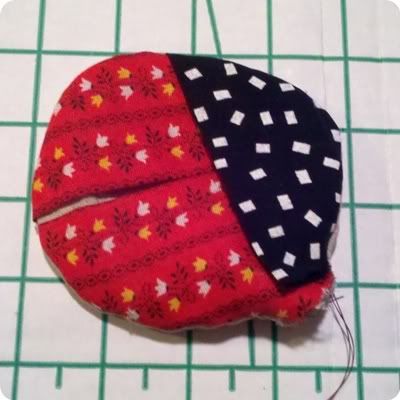
Seis..
Flip it!
Here's where I became a smidget disappointed.
I flipped my little lady right-side-out and her antennas slipped right out. Boo!
So I suggest maybe a dot of hot glue on the seam at the antenna, just to extra hold them in place...
I left the thread and needle attached after I was done hand-stitching the bug, so I didn't have to re-do the knots and stuff.
And after I remembered that I don't really ever see antennas on real lady bugs, I got over my disappoinment.
I like her so far.
Finally..
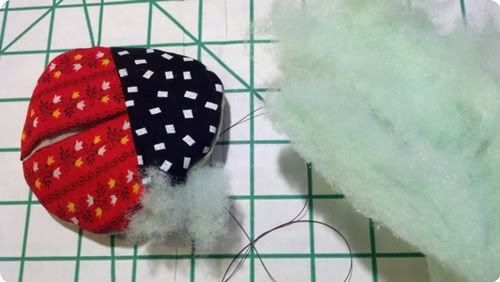
Stuff
her
with
stuff.

Last..
Sew up the hole!
I made a boo-boo and didn't stitch the beetle head all way around, so doing a slip-stitch was not really an option.. I had to ugly-stitch her shut.
But smart me- I whipped up a Fancy Plant, tacked it on in the ugly spot...
and viola'!
Miss Fancy Bug.
Thank ya, thank ya ver' much.
