Pages

Showing posts with label tutorial-ish. Show all posts

Friday, July 29, 2011

Miss Fancy Bug... Pincushion

Last night I got the itch to make something. I think I have blame it on the very wonderfully crafty lady over at craftiness is not optional...one of my favorite bloggies. She was just too inspirational... I had to follow suit. =) As I was browsing through some of her older posts, I noticed the cutest little pincushions sitting on her tables and... I think...fabric covered weights?...holding fabrics down.

I wanted to make some too!
Specifically...pincushions.
After all, it was 10:15pm. I needed something fast, easy and satisfying.
So I googled pincushion tutorials and clicked on pics that I liked.
And ended up making my own version of the Bitty Bug Pincushion by Goody-Goody Handmade.


And go figure... I took pictures while I did it. Keep reading for my tutorial-ish, and click here for the real tutorial.
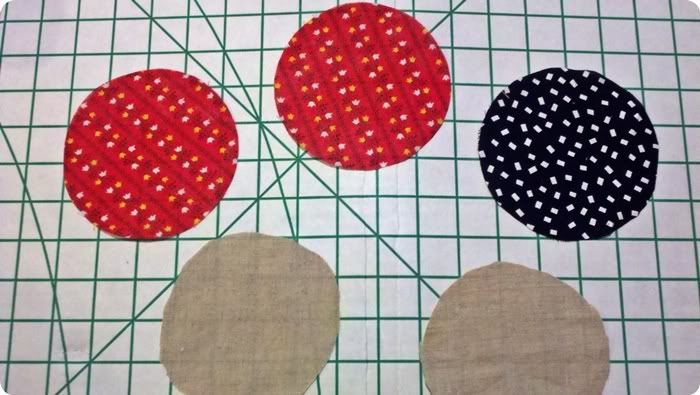


Start..

The tute said..cut some circles. But I have stacks of already cut circles in my Miss Fancy Plants hoard. And luckily..in the right colors. Oh yah!
So I whipped some of those out.
You need circles like these- ish --->
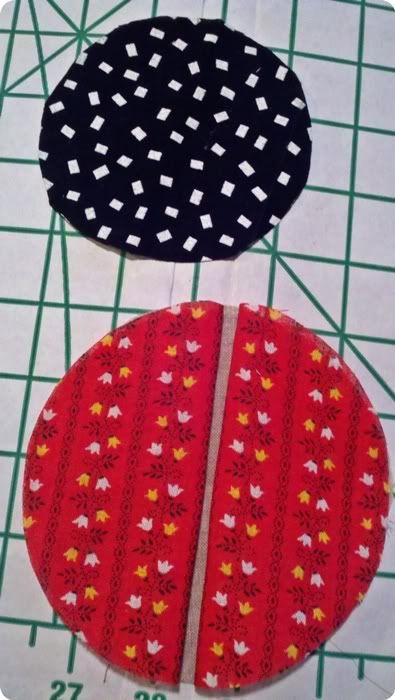


Dos..

Then you place them like so..
folding the reds in half and then the black one too.
However... had I really followed the original tutorial, I'd have known the black needed to be a smidget smaller than the others..so I had to do some trimming. Hey... we've already established that I am no perfectionist. =/
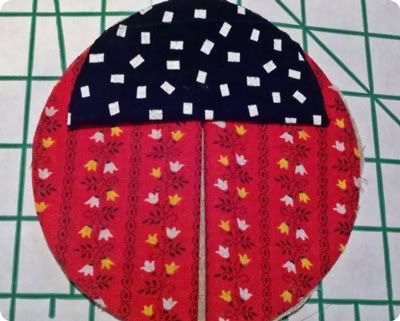
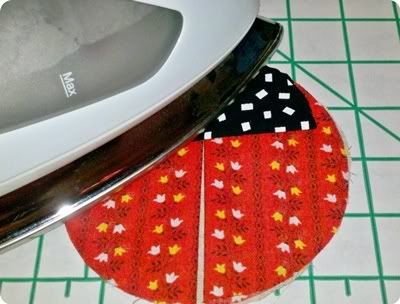


Next..

Then you press!


I can't believe I actually did this step!


I never do the ironing step.


 Vier.. 
(that's 4 in german)

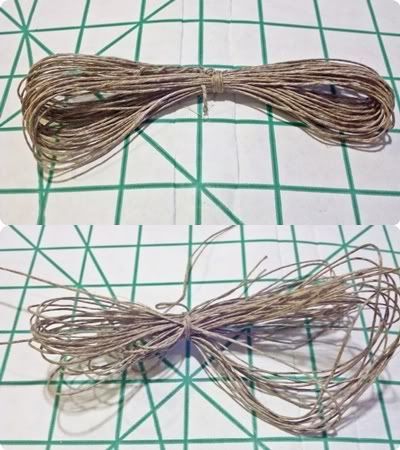
Now I was supposed to make some antenna.
So I ran upstairs to find the little tiny bundle of twiney stuff that I knew was in the black hole some where..
Found it..
and then I couldn't get it undone!!! 
Stooopid.


But then I did.

And I made some antenna.


Then..

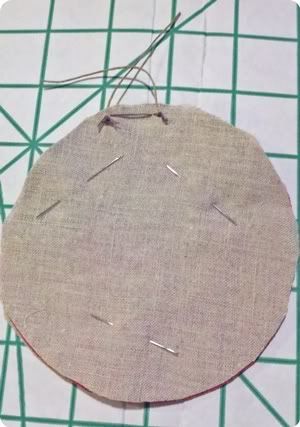
I had to place the antenna on the beetle head and put the last circle down, making a bug sammich.

Goody-Goody suggests tacking down the antenna before sewing to make sure they stay. So I did.

In case you're wondering why the little stringies are hanging outside the sammich... like I was... well, it's just the extra. That will end up inside the bug.

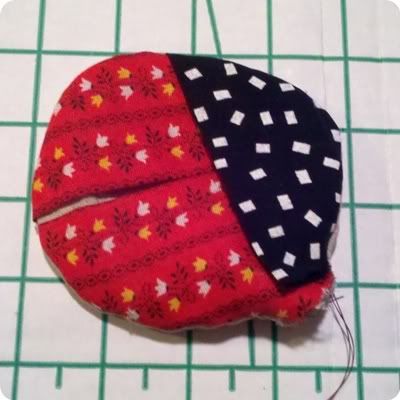
And then you pin the sammich up and start sewing...
I didn't feel like bringing out my machine, or running back to the black hole to find my pinning-stuff pins, so I used sewing needles to pin it and hand-stitched the sucker. Kept me busy the entire episode of Top Gear.


Seis..

Flip it!

Here's where I became a smidget disappointed.

I flipped my little lady right-side-out and her antennas slipped right out. Boo!

So I suggest maybe a dot of hot glue on the seam at the antenna, just to extra hold them in place...

I left the thread and needle attached after I was done hand-stitching the bug, so I didn't have to re-do the knots and stuff.

And after I remembered that I don't really ever see antennas on real lady bugs, I got over my disappoinment.
I like her so far.


Finally..

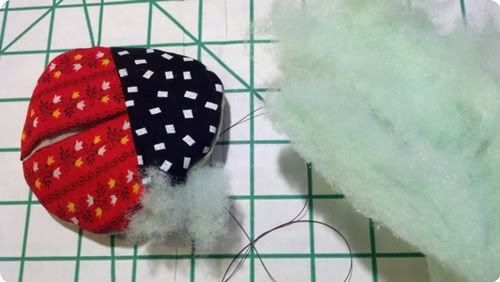
Stuff
her 
with 
stuff. 


 Last..

Sew up the hole!

I made a boo-boo and didn't stitch the beetle head all way around, so doing a slip-stitch was not really an option.. I had to ugly-stitch her shut.

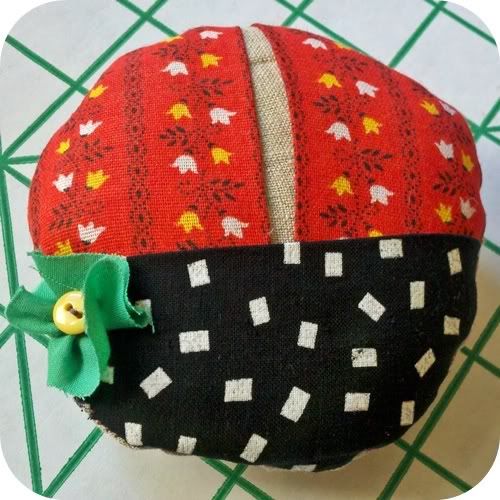
But smart me-  I whipped up a Fancy Plant, tacked it on in the ugly spot...
and viola'!

Miss Fancy Bug.


Thank ya, thank ya ver' much.


post signature

Thursday, June 23, 2011

Scrap Fabric Headband Holder

Yesterday I finally got around to making my 11-next-month-year-old her oatmeal carton head band holder. I have been finding headbands shoved everywhere. Baskets, drawers, night stands, coffee tables, counters, couch cracks... =/   EeeeNUFF. 

So while I slapped it together, I took lots of pics. And today I am attempting my first tutorial-ish blog. 

It is super, super, extra super easy to do! 
~Please forgive me and my non-technical directions.~ 
~I am very comfortable with mess-ups and jimmy-rigging!~


Stuff you need:

A large oatmeal container
Glue sticks
Ugly glue gun
Fabric
*optional-quilt batting


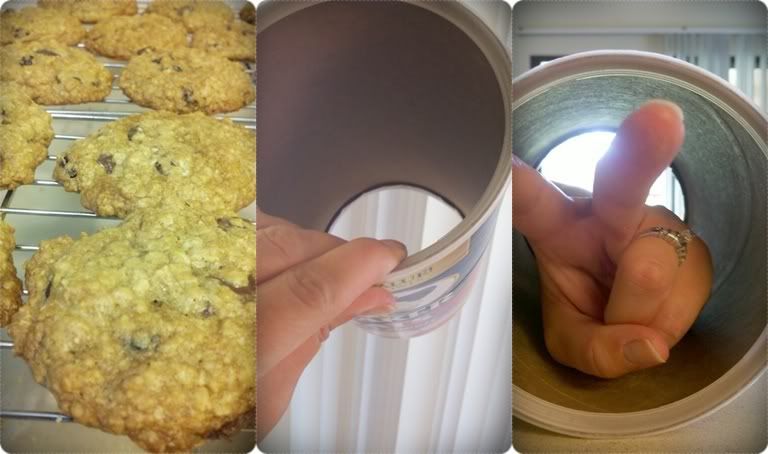
Step 1:   Make lots of cookies!! You do have to empty that container. Those are oatmeal-raisin-chocolate chunk!! My favorite way to use oatmeal though is to make the "Neiman Marcus" cookies. (Next time I make those, I'll do a tutorial-ish and link it here. yah!)  Then... you punch out the bottom of the container... but keep the lid! 


Step 2: ...is totally optional. Cover the can with quilt batting. If the fabric you are going to use is see-through-ish, then you might want to do this step. My fabric was, so I used the puffy stuff.  You will need -about- a 20x13 piece of batting to cover the particular can shown here. But since you may not like quick 5-minute oats, your can might be a different size.. so measure what you have! 
~
I used spray adhesive to attach my batting. You can use hot glue, it works just as well. As you can see, I didn't measure my batting..I just used left-over strips that I had.. if you do this too, all you have to do is glue it and trim the edges. 


Step 3: Cut your fabric. Since you measured your can, you will know what dimensions to cut. Be sure to leave extra fabric on every end for the folding-over-and-gluing-step. I used the large Quaker Can... so I needed a 20x 13 piece of fabric. I actually used a 20x12...but in the process wished I had an extra inch...
(The fabric I used was left-over curtains -I think- so there is a hem in my stuff. You don't need to sew a hem, folding the edge over will work.) 


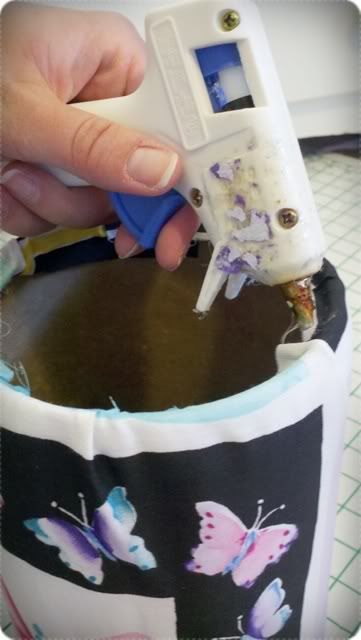
Step 4: Glue the fabric on the can! Easy to do. Don't worry about being perfect. Or if you want to, I guess that's fine too. ;)  Line up the fabric, center the picture, square it.. so that it will rest on the can the way you want it. I had a large picture to work with = easy. Use a dot of glue to attach the top and bottom edges of the fabric to the can at first...sort of a tacking method. Then you can use lines... or whatever gluing method makes you feel good... to affix the entire edge.  When you wrap the second edge around to meet the first, fold it under to create a finished edge before gluing. 
~
*The optional step in here: would be to have ironed the second edge (or maybe even hem it) so it's super crisp when it lays on the can. But this is a super, super, extra, super easy project... so I OMIT this. HA!


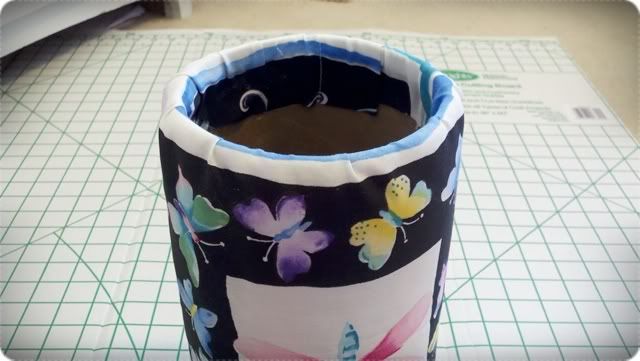
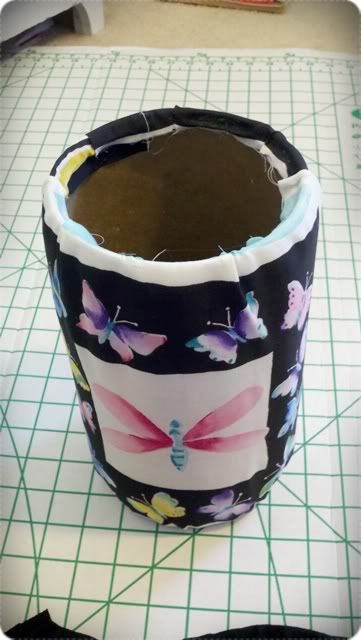
Step 5: Simply fold over and glue the edges onto the inside of the can. Do it on both sides. I couldn't get a good shot of this process..but I'm sure you get the idea. So here are some pics of the "finished" step. 

Bottom

Top


As you can see.. the top is not cute. I cannot leave it as is. So this is where the lid that you kept comes into play. 
(We are going to leave the bottom open.)

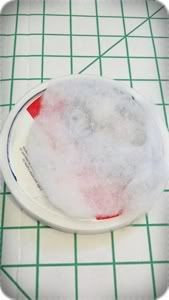
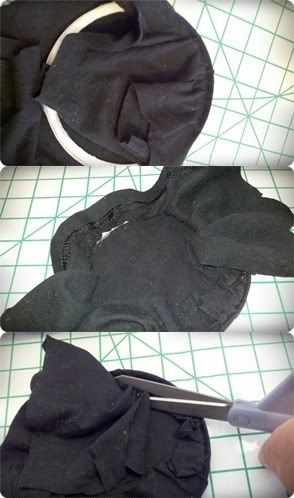
Step 6: This is probably the most tedious step. Cover the lid. You can choose to punch out the paper and use just the plastic ring (like I did) or you can put some batting on the paper and/or cover it with fabric. 

What you will want to do is turn the fabric you're using over so that the right side is facing down... then put hot glue onto the plastic ring portion of the lid... then plop place the ring glue-side down onto the fabric. Easy. 

The trickier part comes next. 
**If you have kept the paper part of your lid, it's easier for you. You just glue the unfinished edges onto the under-side of the lid. And viola'. You're done with the lid.

But I messed up my paper and had to punch it out. So my lid was not so easy. 
Ok, it was still easy...
I lined the inside of the plastic ring, a little at a time, with glue and pressed the fabric over and into the glue. 
Then I cut the excess off. 

I used the sleeve of an old t-shirt. =D


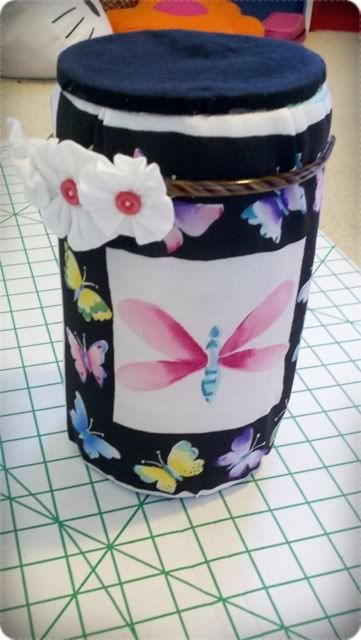
Step 7: Glue the Lid on the Can.  Just line the rim of the can with glue (a little at a time if you need to) and press the finished lid onto the top. Easy Peasy. 


Done!
And there you have it! 
An easy headband holder for a little girl who used to like to use the couch/table/floor/drawer instead. 

My finished Headband Holder is today's Project 365.

I am putting this project 
in ON{the laundry}LINE's
...since I did this quickie 
storage project during summer break. ;)
Check it out! 


post signature